-
E-mail
1456813138@qq.com
-
Phone
13589264130
-
Address
Mount Huangshan Economic Zone, Jiaonan, Qingdao, Shandong
Product Categories
Qingdao Xincheng Yiming Rubber Machinery Co., Ltd
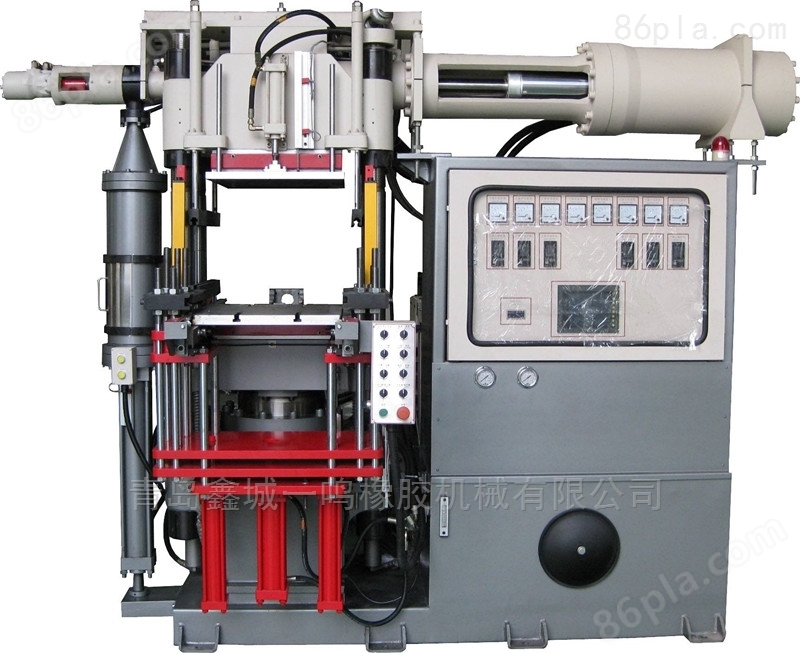
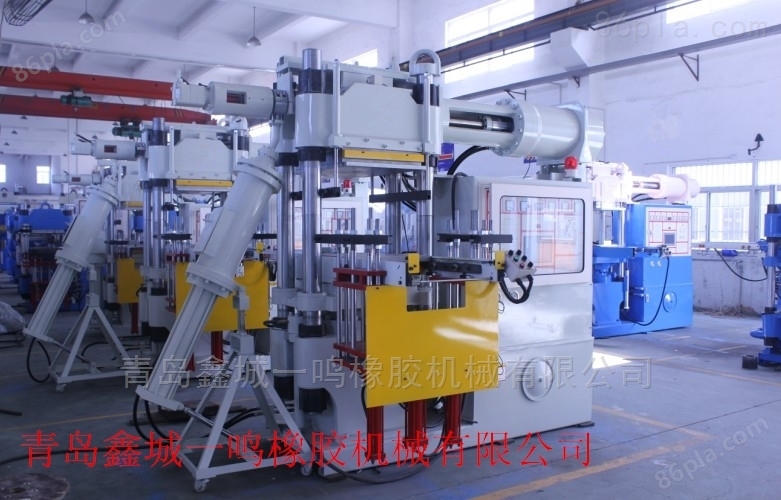
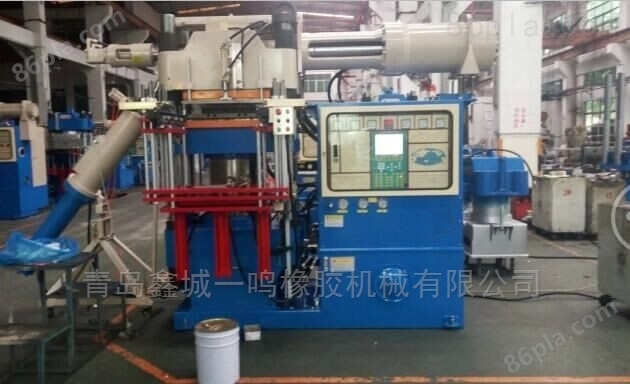
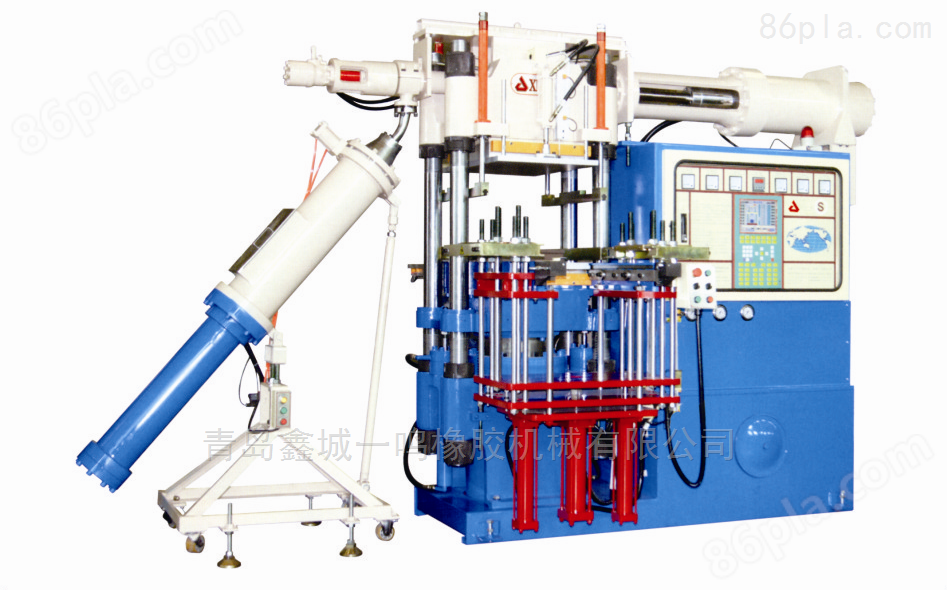
Horizontal automatic rubber injection machine
NegotiableUpdate on 01/12
- Model
- Nature of the Manufacturer
- Producers
- Product Category
- Place of Origin
Overview
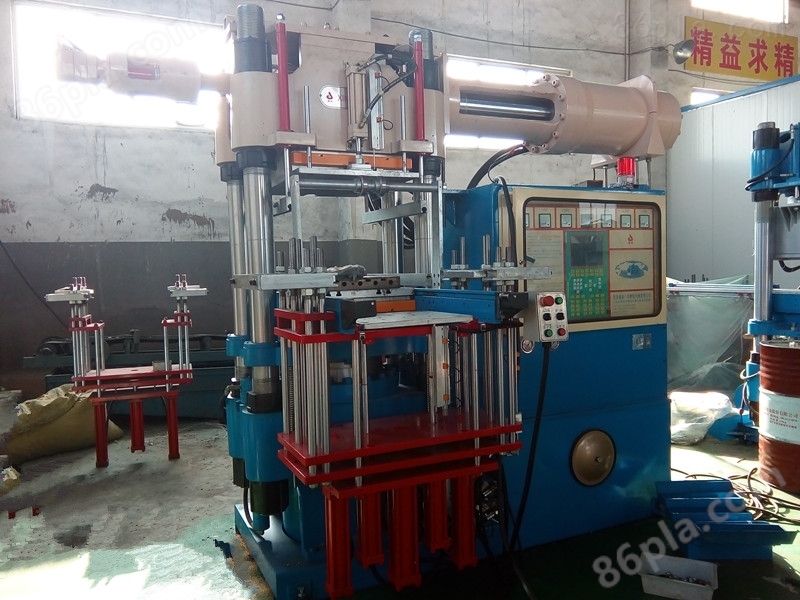
Introduction to the characteristics of the horizontal automatic rubber injection machine: 1. Mechanical design: The machine base adopts a special mechanical design, with good plane accuracy, beautiful appearance of the finished product, and excellent quality. 2. The special two-stage feeding design of the feeding system can provide good exhaust effect for the raw materials without the need for waste. 3. The injection volume control adopts high-precision German made electronic ruler design, which can accurately control and calculate the size of the injection volume. 4. The transfer plate design has special seat in and seat out functions, which can prevent the nozzle from feeding. Easy material cleaning and stable quality. 5. Safety design equipped with Japanese high-tech infrared safety eyes
Product Details
Horizontal automatic rubber injection machineMaintenance:
1. Machines should be kept clean, regularly and promptly repaired, and worn parts should be repaired or replaced.
2. During each shift change, it is necessary to check whether the lubrication points and cooling water circulation are normal.
3. Strict attention should be paid to avoiding the mixing of water and impurities into the oil.
4. The fuel tank should maintain a certain capacity of working oil that meets the requirements. The oil level should be checked regularly. When the machine is first used, the fuel tank and oil filter should be cleaned, and the working oil should be filtered and injected into the fuel tank. After 3 months, clean and replace with new oil, and then clean and replace every six months thereafter.
5. When attempting to start the machine, the oil pump should be operated without load for at least 5 minutes before starting. If there are bubbles on the surface of the working fluid, the oil pump inlet pipe should be checked and tightened in a timely manner to prevent air infiltration and damage to the oil pump.
6. Clean the contact points of each electrical appliance every month. If the contact points become hairy, repair or replace them as needed to ensure sensitive operation and keep the control box dry and clean.
7. When the oil pump motor is working, no debris should be placed between the moving template and the fixed template to avoid damaging the machine and mold by misoperation.
8. During the preheating period or when there is no injection action for a long time, the pre plastic cylinder and the injection rubber cylinder should be cleaned of the rubber material, and the injection seat should be returned to the termination position.
Common problems with horizontal automatic rubber injection machine:
Common problems with horizontal automatic rubber injection machine:
| number
| The plunger does not rise after startup | ① The oil pump is not producing oil, which may be due to the pump turning in the opposite direction or being damaged. ② The return valve handle is in the open mold position. ③Motor reversal | ① Electrical test or disassembly for oil pump maintenance ② Pull the handle to the correct position ③Swap the live wires |
| 2 | Abnormal noise | ① There is a large amount of air in the pipeline ② Oil filter blockage ③ The oil level in the fuel tank is too low, and air is sucked into the pipeline ④ Oil pump damaged | ① Make the press up and down several times, exhaust the air ② remove and clean ③ add oil ④ remove and repair or replace |
| 3 | Will not boost or boost slowly | ① High pressure pump malfunction ② High pressure relief valve not closed ③ There is a leak on the pipeline ④ Pressure gauge malfunction | ① Disassemble, inspect and repair ② After disassembly and cleaning, adjust the pressure correctly. ③ Identify and remove any leaks ④ Replace the pressure gauge |
| 4 | Cannot maintain pressure | ① The valve seat and disc of the oil discharge valve are not tightly sealed ② The sealing of the valve core inside the one-way valve is not functioning properly ③ Pipeline or oil cylinder leakage reduction | ① ② Disassemble, clean, grind or modify ③ Check if the oil inlet pipe is loose, and then tighten it |
| 5 | Heating up slower than normal 1) The contactor often opens during the heating process. 2) A certain flat plate is not heating up or the temperature is low. 3) Continue heating up after reaching the specified value | ① Temperature controller malfunction ② The temperature control regulator malfunctions or some heating tubes are damaged ③ Temperature controller malfunction ①②③③③⑤⑥ | ① Replace the temperature controller ② Replace the temperature controller or heating tube ③ Replace the temperature controller |
| 6 | There is a large amount of oil leakage around the plunger | The sealing ring is broken | Replace the sealing ring |
| 7 | Abnormal heating of the tablet | Damaged thermistor | Measure the continuity of flat electric heating tubes with lower temperatures one by one, and replace damaged meters |
| 8 | Temperature control malfunction | ① Temperature controller malfunction or control circuit interruption ② Electric heating fuse circuit breaker or wiring circuit breaker | The temperature control instrument core can be removed and compared using the exchange method to replace the damaged meter |
| 9 | Heating does not display | ①Possible reason is that the ammeter is broken ②Perhaps the heating tube is damaged | Observe the pointer of the temperature controller. If the pointer rotates clockwise to the end, it indicates that the wiring of the thermistor is open or the thermistor is burnt out. |
| 10 | The tablet does not heat up | ① Thermal resistancedamaged ② Thermal resistanceThe connecting wires at both ends may burn out
| ① Use the exchange method to check or observe whether the electric contactor is working when the temperature controller is in operation, then connect and disconnect it, and replace the temperature controller. ② Swap the fast melting core or connect the circuit |
Similar Product Recommend